Equipment
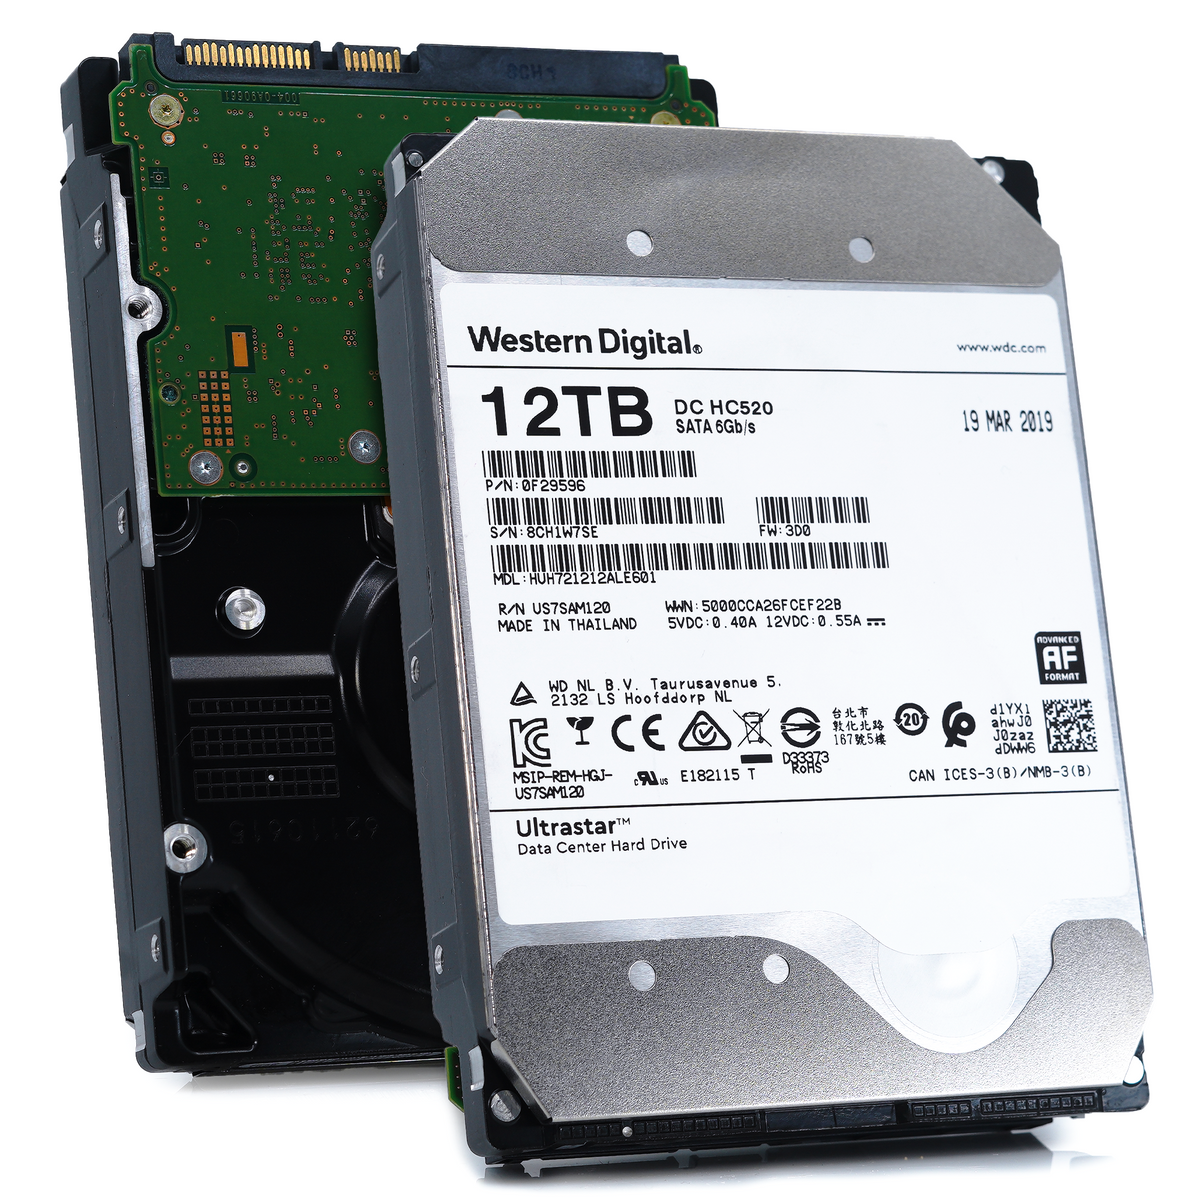
- HGST Ultrastar He12 hard drive: (https://serverpartdeals.com/products/hgst-ultrastar-he12-huh721212ale601-0f29596-12tb-7-2k-rpm-sata-6gb-s-3-5-hdd)
- Raspberry Pi: Any model should work.
- SATA to USB Adapter: Since the Raspberry Pi lacks direct SATA ports, this is essential.
- External power supply for the hard drive:*
The Raspberry Pi won’t be able to supply enough power for a 3.5-inch hard drive.
Steps
-
Connect the hard drive to the adapter:
- Carefully plug the SATA power and data cables from the SATA to USB adapter into the corresponding ports on the HGST Ultrastar He12 drive.
-
Connect to the Raspberry Pi:
- Plug the USB end of the SATA to USB adapter into an available USB port on your Raspberry Pi.
-
Power the hard drive:
- Connect the external power supply to the hard drive. Do not attempt to power it solely through the Raspberry Pi.
-
Mount the hard drive (on the Raspberry Pi):
- Check if the drive is detected: Use the command
lsblkto list connected block devices. Your hard drive should show up (e.g., /dev/sda1).
- Check if the drive is detected: Use the command
- Format: The hard drive might come pre-formatted with a filesystem that Raspberry Pi doesn’t recognize. You may need to format it using a Linux-compatible filesystem like ext4. Use
mkfs.ext4 /dev/sda1(replace ‘/dev/sda1’ if necessary). - Create a mount point: Use the command
sudo mkdir /mnt/mydrive(you can replace ‘mydrive’ with any name you prefer).- Mount the drive: Use the command
sudo mount /dev/sda1 /mnt/mydrive(replace ‘/dev/sda1’ with the actual device name if different).
- Mount the drive: Use the command
Important Considerations
-
Power: Raspberry Pi’s USB ports cannot provide enough power for a large hard drive. Using an external power supply is crucial to avoid damaging the Raspberry Pi or causing the hard drive to malfunction.
-
Automatic Mounting: To automatically mount the drive on startup, you’ll need to edit your
/etc/fstabfile.
Additional Tips
- Enclosure: Consider getting an enclosure for the hard drive and its adapter for protection and portability.
- Data Transfer: File transfers over USB 2.0 (if your Raspberry Pi has that) will be slower than directly connected SATA.
PS: I’m a human who started typing out half of this, then wanted to see if the AI could come up with a better response. I gave it the image from the posting above and said “I want to connect this to a Raspberry Pi” and I thought it came out with a better response. Mine originally only mentioned the USB-SATA part, while the LLM came back with instructions (I had to reorder them, but otherwise they looked good)
Thank you for your remarkable work here — and for the confirmation that the LLM got it right!
deleted by creator